Allan King says:
BUT, it is almost as easy to make your own protoboard LED matrix as just solder LED's into a premade double-sided board. And it's EASIER to make your own than putting together most single-sided premade boards, because the rows require jumpers to go over at least every other column with single-sided boards, and that's *IF* whoever laid out the board thought of the pattern to not need a jumper over every column. Half or as many wires as LED's to stuff and solder. I put a mini-description in the ASM notes, but will make it a bit more clear with a diagram and better instructions here. And a lot of people might just not read far enough into the ASM to see the instructions and how easy it can be to make their own sign.1. You can make the matrix really tight, or loose if you want a bigger sign, but too far apart for the dot size and brightness will make it hard to read close up. Since I usually need mine for testing not display, I make them really tight to save space. Solder LED's into the protoboard, orienting them like on the left below. Solder them in one column at a time, making sure to do it in order so the + lead will be on the outside edge of each row, and only solder the + lead of each LED to hold them in. It's hard to solder down through all the leads if you don't do it one column at a time, so you're only soldering the leads at the edge of the forest. Then cut all leads down to 1/4 or 3/16 inch or so. Exact lead height's not critical here, just short enough to solder down through easily and be stiff for pushing the paper on, but still long enough for the higher layer.
2. Then take bare wire and solder it straight against the - leads and board pads for each column like on the right. Then cut the - leads as short as possible against the column wires.
  +- +- +- +- +-     +- +- +- +- +-
                      |  |  |  |  |
  +- +- +- +- +-     +- +- +- +- +-
                      |  |  |  |  |
  +- +- +- +- +-     +- +- +- +- +-
                      |  |  |  |  |
  +- +- +- +- +-     +- +- +- +- +-
                      |  |  |  |  |
  +- +- +- +- +-     +- +- +- +- +-
                      |  |  |  |  |
3. Now you just have the + leads sticking up at ~1/4 inch and the columns wired and flush. (*Good idea part is here!*) Push some heavy paper onto the + leads and flat against the columns wires to insulate the columns from the rows. With just the + leads exposed, you can now solder on row wires similar to how you did the columns, and cut the + leads against the wires. Just try not to start a fire soldering against the paper. Good idea to also put another paper layer over everything so the rows won't short together if you touch it against something metal while it's on.
When I made my original handmade matrix I cut all the leads, then had to bend the bus wire up and over each column wire to connect the + leads. A real PITA. Then hit on leaving the plus leads higher and doing them 1/4 inch in the air, since it's a lot easier if you can solder the row wires without having to work them around the columns. Quickly thought of the paper insulation after that to keep things close. Needless to say the paper insulator idea is a heck of a lot faster than bending the row wires over the column wires and less tedious, and much less likely to short something than without the insulation between columns and rows. It really is only a little more work than even just soldering LED's into a custom double-sided board by hand, without the expense of the board, and definitely easier than dealing with the jumpers and LED's for a single-sided board. And the paper sandwich lets you put the matrix wires flat together, keeping the whole assembly reasonably thin as well as making it not so delicate to handle.
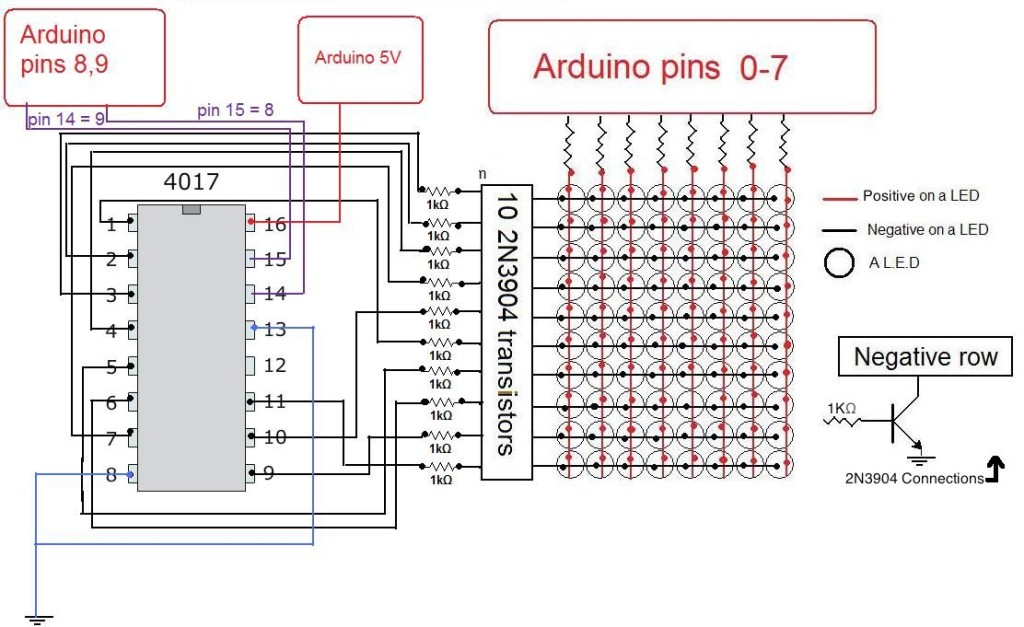
Now just hook up your 4094's in a serial chain from right to left (the oldest (first) bit clocks in on the right, and ends up on the left), with 2003 buffers with resistors to sink the column wires. 33 ohm resistors seem to work well here, with good brightness, but are probably technically too low for the 2003's. PNP row transistors are needed, and these have to source up to the full row's worth of current. Probably should use bigger ones than 2907's with 40 LED's with 33 ohm resistors! ;) The whole sign with all 280 LED's on at full scanning brightness only draws about 1.5A at 5v though, so they probably won't die since each transistor only takes 1/7th (or 1/8th if you do a by 8 matrix) of that. But that may be a limit of the converted modem test supply and not what this sucker could pull down. Then just add a pic to run all of this (a link to some simple 16F84 software is on my page at the bottom) and you have a sign!
Hope you find this useful,
See also:
| file: /Techref/io/led/construction.htm, 5KB, , updated: 2017/11/21 10:22, local time: 2025/9/20 16:13,
216.73.216.125,10-2-80-231:LOG IN
|
| ©2025 These pages are served without commercial sponsorship. (No popup ads, etc...).Bandwidth abuse increases hosting cost forcing sponsorship or shutdown. This server aggressively defends against automated copying for any reason including offline viewing, duplication, etc... Please respect this requirement and DO NOT RIP THIS SITE. Questions? <A HREF="http://www.piclist.com/techref/io/led/construction.htm"> Construction of an LED Matrix</A> |
| Did you find what you needed? |
|
o List host: MIT, Site host massmind.org, Top posters @none found - Page Editors: James Newton, David Cary, and YOU! * Roman Black of Black Robotics donates from sales of Linistep stepper controller kits. * Ashley Roll of Digital Nemesis donates from sales of RCL-1 RS232 to TTL converters. * Monthly Subscribers: Gregg Rew. on-going support is MOST appreciated! * Contributors: Richard Seriani, Sr. |
|
Ashley Roll has put together a really nice little unit here. Leave off the MAX232 and keep these handy for the few times you need true RS232! |
.