 Making of circuits Making of circuits
 |
Console controller
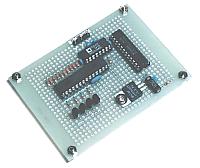 |
This is the circuit which controls a console unit.
First, one of the IC connectors is mounted to decide the mounting position of the parts. I mounted an IC socket for the 1st pin side of IC1. If there is the wire which passes under the part, the wiring should be done before.
At first, I planned to mount C5 perpendicularly. There is no problem in such mounting. However, I mounted levelly to make the height of the part low.
In this case, it had better move the mounting position of C5 and C6 to the left viewing from wiring side.
|
|
Ten key
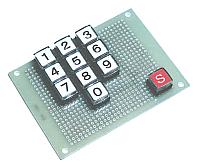 |
The holes which are opened on the printed board which is used this time is about 0.6 mm diameter. The lead wire of the numeric key switch was slightlier thick than it. So, I made holes bigger with the 0.8-mm drill.
The transparent plastic cover can be put to the key switch. I put the paper that a key name was printed.
|
|
Digit display
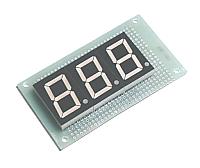 |
There are wires which pass under the 7 segment LED. In this case, the wiring should be done before mounting an LED.
However, when all wiring is done with the vinyl covered wire material, it doesn't need.
|
|
Category key, LED and Clear key
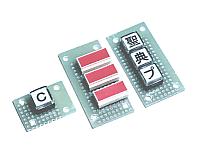 |
There is no difficult thing.
|
Hole and Panel making
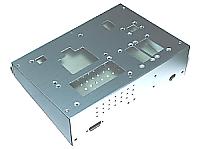
Before making holes to the case, I put printed boards onto the paper temporarily. In this way, it is possible to confirm the installation position and it can be changed easily.
Wiring
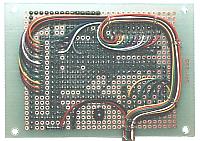
A vinyl covered wire is used for the interconnection of the printed board. Because few electric currents flow except the power wiring, I used 0.12/7 PVC. Wiring is fixed using the holes of printed board with the vinyl string.
The color of the wires which were used this time is 10 colors. It isn't possible to make all wiring to be a different color. So, when connecting with the other unit, confirmation by the circuit tester is needed.
|