
 Power supply switch (Toggle switch) Power supply switch (Toggle switch)
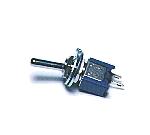
It does ON/OFF of the power supply.
I used the toggle switch that the operation and the installation are easy.
Case
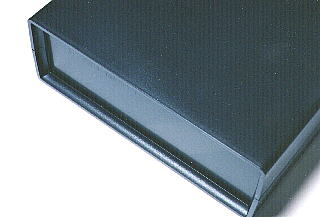
I used a plastic case with 150-mm width, 54-mm height, 170-mm depth.
The reason why I chose this case depends on "the cheap thing" and "to make a hole is simple".
The panel in the front and the back is an aluminum board.
Power supply cable
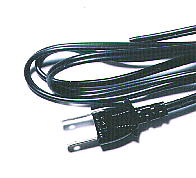
I am using a vinyl cord with the AC plug.
I thought of the way of connecting with the adapter and the connector. However, I stopped because it was troublesome.
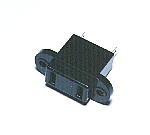
AC cord protector
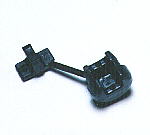
I don't know what to call this in English. This is the part to defend an AC cord against damaging by the touch with the panel.
Through the hole which was opened at the side of the case, the AC cable is led inside.
There is no problem if the place which makes a hole is plastic but the case which I used this time is using an aluminum board. Therefore, I used the protector which was made with plastic so as not for a cord to be damaged by the touch with the aluminum board.
Outlet
I put the outlet for the AC to the back of the adapter.
When experimenting on the electron making, the outlet is lacking.
For the power unit, for the soldering iron, fpr the measurement receptacle, the others.
If connecting the oscilloscope with the outlet of the adapter, the outlet of the addition isn't necessary.
Small switching power supply
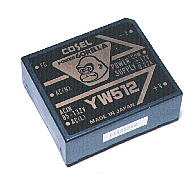
It outputs DC ±12 V from AC100 V. The output current capacity is small with 220 mA but is enough for the equipment this time.
It is expensive a little but it is possible to make light-weight and small because the transformer isn't necessary.
Lettering sheet
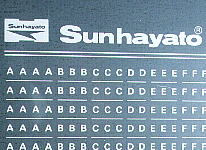
I used the lettering sheet to write the name at the case.
Because the case which was used this time was the black, the color of the lettering used the white.
You write the lettering with the hand without using it and don't have the problem.
Lettering fixative

To copy the letter into the case, it rubs the letter on the sheet.
It comes off when touching the letter just as it is.
It blows and it makes the fixative not come off. I used the sprayer type.
Tape cutter
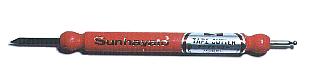
This tool is used when copying the letter of the lettering sheet to the case. It is possible to copy beautifully when rubbing in the circular part of the tip.
It is OK if being the one where the tip is circular rather than this tool.
This tool is the tool for the correction of the lettering tape and the one becomes the knife.
|