Etching
[Menu]>[Manufacturing of Original PCB]>[The process of the PCB making]
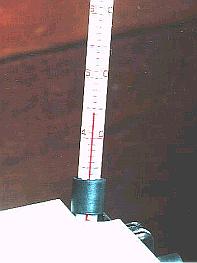 |
Put the etchant in the etching equipment and set the temperature. As for the etchant, 40-43 degC are the suitable temperature. Don't raise more than 45 degC. Measure the temperature with the stick thermometer. Send the air to the liquid tank and stir the etchant. |
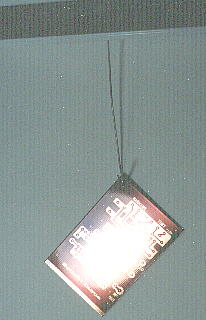 |
To hang the printed board in the etchant, make a 1-mm hole in the one of the corners of the printed board. Pass the titanium wire through the hole and hang it from the top of the liquid tank. The small hole is open to the lid of the liquid tank, too. Adjust in the length of the titanium wire to become the middle of the liquid tank. |
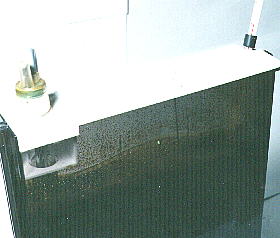 |
Hang the printed board into the etchant. Because the etching time depends on the size of the printed board, the quantity of the copper to dissolve, draw up the printed board sometimes and confirm it. The area of the copper to dissolve becomes long in the time when wide. This time, it was to be in the about 8 minutes. Because the copper in the part of the mask has melted when doing the long time etching, it is necessary to confirm briskly. Be careful so as not for there to be an etchant in the others when drawing up the printed board to confirm the etching condition. |
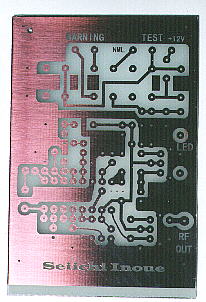 | Immediately washe the printed board which the etching completed with the water. |