Board making technique (10)
In such a case, you can make it 10mil or more using a tool ( ULP:User Language Program ). The tool to be used is silkwidth.ulp. However, this tool is not contained in standard EAGLE. It is necessary to include in EAGLE in the following procedures. You can get original silkwidth.ulp from the homepage of OLIMEX. However, this tool does not operate normally in Version 4.09r2 for Windows. Below, my correction version is used.
You can download the ULP file by clicking the link above and save it to "ULP" folder of the Eagle. In my case, I saved to Program Files -> EAGLE-4.09r2 -> ulp. Inclusion was ended above.  Open the board for processing. Push Run button. 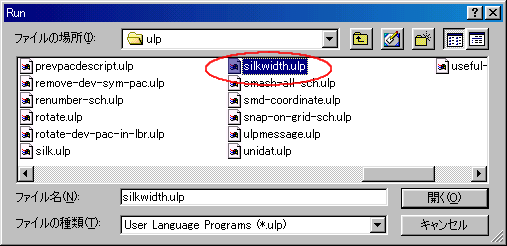 Choose silkwidth.ulp from the list of ULP and push the Open button. By the above operation, silkwidth.scr is created to the folder in which the board file( .brd ) is stored.  Next, push Script button. 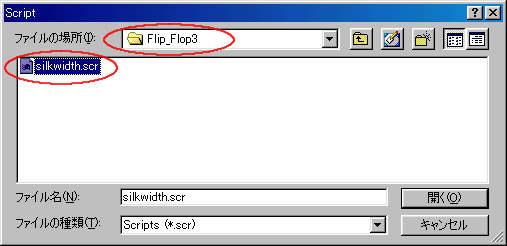 Specify the folder which has a board file( .brd ) in the dialog displayed. Choose silkwidth.scr and push the Open button.
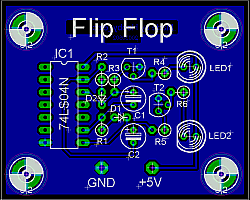
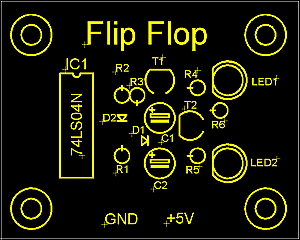
I will show you the example of "A-stable multivibrator". |
