Display control of the parts name and value (Display) Display control of the parts name and value (Display)

When you click Display icon, the window which controls the displaying of a board is displayed.
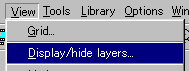
The display control window can be open by selecting the pull-down menu "Display/hide layers..." from menu bar too.
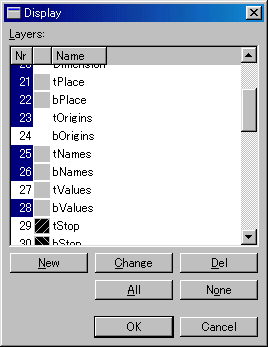
The item which is made blue in Nr is a displayed item. "t" at the head is the initial of TOP and it means the display of the component side of the board. "b" is the initial of BOTTOM and it means the display of the wiring side of the board.
"Place" is the item which controls the display of the shape of the part. But, when making "Place" non-display mode, the name and the value of the same group(t or b) are suppressed both. Also, when making a display mode, all items of the group which is the same are displayed.
"Origins" can do the operation of the name of the part.
"Names" can control the display of the name of the part.
"Values" can control the display of the value of the part.
Auto route (Auto)

The "Auto" button is used to wire automatically.
Autorouter Setup dialog is displayed when pushing the Auto button.
I will describe the part of the Autorouter Setup dialog.
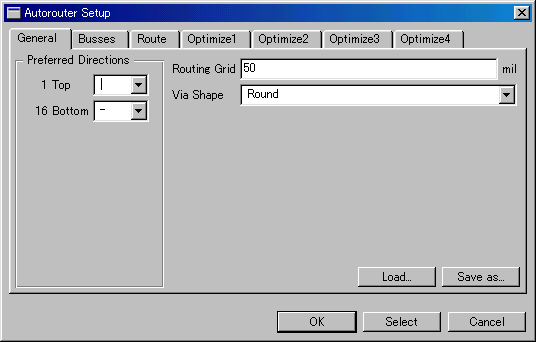 The General tab is the dialog which sets a general item.
 Preferred Directions Preferred Directions
The layer which draws a print pattern can be designated.
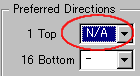
When drawing a print pattern only on the wiring side, it makes Top "N/A".
There are "-", "|", "/", "\", "*", "N/A" in the parameter. I don't understand an use except "N/A". The order of priority ?
Routing Grid
A print pattern is drawn according to the grid. A grid interval is designated by this item. The default is 50mil. 50mil is 0.05 inches and a half in the pin interval (0.1 inches) of the DIP-type IC. That is, it is possible to do one wiring among the IC pins. If making this value small, it is possible to do a pattern interval being narrow. However, it is influenced by the width of the pattern, the minimum value in the pattern interval. Because it is, it isn't possible to make small unconditionally.

Via Shape
When drawing a print pattern for the both sides, the pattern of the top side and the bottom side is sometimes connected using the through-hole. The shape of the through-hole can be selected by this item. The default is Round. Octagon can be selected.
Save as...
The contents which were set by the dialog can be saved. The extension of the file is "ctl". I am saving in the folder of the project but can save in the other folder.
Load
The setting information to have stored in "Save as" can be loaded with this button.
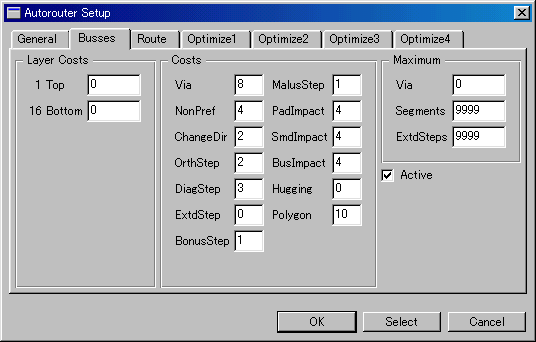
Layer Costs
In the automatically wiring, wiring is done based on the cost. Top is the cost of the component side and Bottom is the cost of the wiring side. When the cost is small, the priority becomes high. The maximum with cost is 99. In this case, the priority becomes the lowest.
Costs
The cost value with each item about the wiring seems able to be set in detail. I don't understand details.
Maximum
I find that it is a setting item with maximum but I don't understand details.
Active
The effective/ineffective of each setting tab can be set. It is effective when putting a checking mark.
By changing the value of Busses, Route, Optimaize, the wiring situation of the pattern changes. I am using a default basically.
Change of the name position (Move, Rotate, Smash)
 |  |  |
The change of the position of the part and the name and so on using the icon of Rotate, Smash is possible. |
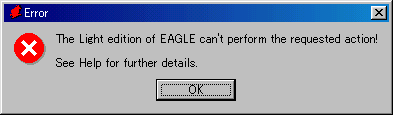
In case of EAGLE of the freeware, the following warning is displayed when trying to put a part on the outside of the board by Move icon and it can not put.
For the details, refer to "Change of the name position". |